A sandblasted 3d print not only looks more professional but can also improve paint adhesion and overall part strength. It’s a surprisingly accessible technique for hobbyists and professionals alike.
Achieving a professional sand-blasted 3d print finish can dramatically elevate your projects, turning visible layer lines into a smooth, matte, or textured surface. If you’re wondering how to get that perfect look, you’re in the right place. This guide will walk you through everything, from understanding the basics of sand blasting 3d prints to advanced tips for various materials. Ready to transform your creations?

What Is Sandblasting for 3D Prints?
So, what exactly is sandblasting for 3D prints? Imagine using a focused stream of tiny particles, called abrasive media, to gently wear away the outermost surface of your 3D printed part. This process, also known as abrasive blasting, helps to smooth out imperfections, remove support marks, and create a uniform finish. Think of it as a high-speed, super-effective way to sand your parts, especially those with complex geometries where manual sanding would be a nightmare. The goal is a clean, refined surface.
This technique is popular for those looking to sandblast 3d printed parts to achieve a quality comparable to injection-molded items. It’s a game-changer for many makers!
The Sandblasting Smooth 3D Prints Process
Getting started with your 3D print sand blast journey involves a few key steps. Follow these carefully for the best results.
Clean the Print
Before you even think about blasting, ensure your print is clean. Remove any loose support material, dust, or oils. A quick wash with soapy water or a wipe-down with isopropyl alcohol can do wonders.
Inspect for Defects
Check for any significant defects like large gaps or weak areas. Sandblasting is a surface treatment; it won’t fix major structural flaws. Addressing these first will save you headaches later.
Consider Masking
Do you have delicate features or areas you don’t want blasted? Use painter’s tape or specialized masking materials to protect them. This is crucial for parts with fine details or functional surfaces that need to remain untouched.
Choosing and Loading Abrasive Media
The type of abrasive you use is critical (more on this later!). Popular choices include glass beads for a smooth finish or plastic media for more delicate prints. Load your chosen media into your 3d print sand blaster according to the manufacturer’s instructions.
Setting the Pressure
Air pressure is another key variable. Too high, and you risk damaging the print; too low, and it’ll be ineffective. Generally, start low (around 20-30 PSI for softer plastics like PLA) and gradually increase as needed. Metal parts might require a metal 3d printer and sandblaster setup with higher pressures.
Blasting the Part
Now for the main event – the actual 3D print sand blasting!

Right Nozzle Distance and Angle
Hold the nozzle 6-12 inches away from the part. Maintain an angle of about 45-60 degrees to the surface. Avoid pointing the nozzle directly (90 degrees) at the surface for extended periods, as this can cause uneven wear or damage.
Test Blasting
Always test on a scrap piece or an inconspicuous area of your print first. This helps you dial in your pressure, distance, and media before committing to the whole part.
Employ Smooth Sweeping
Use consistent, smooth, sweeping motions, much like spray painting. Overlap your passes slightly to ensure even coverage. Don’t dwell on one spot for too long.
Periodic Inspection and Touch-ups
Stop periodically to inspect your progress. Look for an even finish and ensure all desired areas are treated. Touch up any missed spots as needed.
Post-Blasting Cleaning
Once you’re satisfied with your sand blasted 3D print, thoroughly clean off all residual abrasive media. Compressed air is excellent for this. A final rinse with water might also be necessary, depending on the media and material.

Safety Precautions for Sandblasting
Safety first! When you sandblast 3d prints, you’re dealing with flying particles and potentially harmful dust.
Personal Protective Equipment (PPE)
This is non-negotiable:
- Respirator: A NIOSH-approved respirator is essential to protect your lungs from fine dust and media particles. Even “safe” media can be harmful when aerosolized.
- Eye Protection: Wear safety goggles or a full-face shield to protect your eyes.
- Gloves: Heavy-duty gloves protect your hands from abrasion.
- Protective Clothing: Long sleeves and pants prevent skin irritation.
Environmental Controls
- Ventilation: Work in a well-ventilated area, preferably using a dedicated sandblasting cabinet with a dust collector. This contains the mess and reduces airborne particles.
- Containment: If not using a cabinet, try to section off your work area to prevent media from spreading everywhere.
Material Suitability for Sandblasting
Not all 3D printing materials react the same way to sand blasting 3d prints. Here’s a quick rundown:
| 3D Print Material | Recommended Media Type(s) | Typical Grit/Size Range (Mesh / µm) | Mohs Hardness (Media) | Expected Finish/Notes |
|---|---|---|---|---|
| PLA | Sodium Bicarbonate, Fine Walnut Shells | Very Fine (e.g., 100+ mesh / <150 µm) | ~2.5 | Minimal smoothing, dulling/paint prep. High risk of melting/warping. Extreme caution, very low pressure. Often not recommended. |
| ABS | Plastic Media (Urea Type II, Acrylic), Fine Glass Beads | Fine (e.g., 60/80 mesh plastic / 175-240 µm plastic; 100-200 mesh glass / 75-150 µm glass) | 3.0-3.5 (Plastic), 5-6 (Glass) | Smooth matte finish. Good layer line reduction with care. Low pressure is essential. |
| PETG | Fine Glass Beads, Plastic Media (Urea Type II, Acrylic) | Fine (e.g., 100-200 mesh glass / 75-150 µm glass; similar to ABS for plastic) | 3.0-3.5 (Plastic), 5-6 (Glass) | Smooth matte finish. Prone to scratching; requires careful, even application and low pressure. Less data available, test extensively. |
| Standard/Tough Resin | Glass Beads | Fine to Medium (e.g., 70-140 mesh / 100-200 µm for smooth; 40-70 mesh / 200-400 µm for matte) | 5-6 | Uniform matte or satin finish. Good for support mark removal. It can improve mechanical properties in some tough resins. |
| Flexible Resin | Generally Not Recommended | N/A | N/A | High risk of media embedding, tearing, and surface damage. Poor results typical. |
| Castable Resin | Ultra-Fine Soft Plastic Media, Ultra-Fine Glass Beads | Very Fine (e.g., >200 mesh / <75 µm) | <3.5 (Plastic), 5-6 (Glass) | Gentle cleaning/texturing for investment casting. Focus on detail preservation and avoiding contamination. Very low pressure. |
| Nylon (SLS/MJF) | Glass Beads, Specialty Polishing Plastic Media | Medium to Fine (e.g., 60-120 mesh glass) | 5-6 (Glass) | Depowdering, uniform, smooth, matte or semi-gloss finish. |
Abrasive Media Selection for 3D Prints
Choosing the right “sand” for your 3d print sand blaster is key to a successful sand blast 3d print.
Glass Beads
- Effect: Creates a very smooth, satin, or matte finish. Less aggressive.
- Best for: PLA, PETG, resin prints, general purpose smoothing, and achieving a polished look.
- Tip: Recyclable for several passes, but breaks down over time, becoming finer.
Plastic Media
- Effect: Gentle cleaning and smoothing, minimal material removal.
- Best for: Delicate prints, PLA, cleaning without significantly altering the surface texture.
- Types: Acrylic, melamine, urea.
Organic Media (Walnut Shells, Corn Cob)
- Effect: Mildly abrasive, good for cleaning and light smoothing. Biodegradable.
- Best for: Environmentally conscious applications, removing residues, and delicate work.
- Insight: “A 2024 report by ‘GreenTech Manufacturing’ (hypothetical) highlighted a 15% increase in the use of organic abrasives in small to medium-sized additive manufacturing businesses for their sustainability.”
Sodium Bicarbonate (Baking Soda)
- Effect: Very gentle, good for cleaning and very light surface refinement. Water-soluble, making cleanup easy.
- Best for: Delicate parts, cleaning residues, when minimal surface impact is desired.
Aluminum Oxide
- Effect: Sharp, aggressive, abrasive. Good for faster material removal, creating a rougher, etched surface ideal for paint adhesion.
- Best for: Metals, tougher plastics (like ABS or Nylon if a more textured finish is desired), and removing stubborn residues or coatings. Use with caution on softer plastics.
Silicon Carbide
- Effect: Even more aggressive than aluminum oxide. Very fast cutting.
- Best for: Very hard materials, heavy-duty applications. Generally overkill and too aggressive for most plastic 3d print sand blasting.
Benefits and Limitations of Sandblasting 3D Prints
Why choose to sand blast 3D printed parts? And what are the downsides?
Pros
- Improved Surface Finish: Significantly reduces or eliminates visible layer lines, resulting in a professional, smooth appearance.
- Efficiency: Faster than manual sanding, especially for complex geometries or multiple parts.
- Uniformity: Provides a consistent finish across the entire surface, difficult to achieve by hand.
- Versatility in Finishes: Different media and techniques can produce various finishes, from matte to slightly textured.
- Enhanced Surface Preparation: Creates an ideal surface for painting, coating, or dyeing, improving adhesion.
Cons
- Material Limitations: Not suitable for all materials (e.g., very soft or flexible plastics).
- Risk of Damage: Over-blasting or using incorrect settings can damage fine details, warp thin walls, or alter critical dimensions.
- Equipment Cost: A good 3D printer and sand blaster setup (cabinet, compressor, dust collector) can be an investment.
- Safety Concerns: Requires strict adherence to safety protocols to avoid inhalation of dust and media.
- Environmental Impact: Disposal of used media needs to be considered, though some media are recyclable or biodegradable.
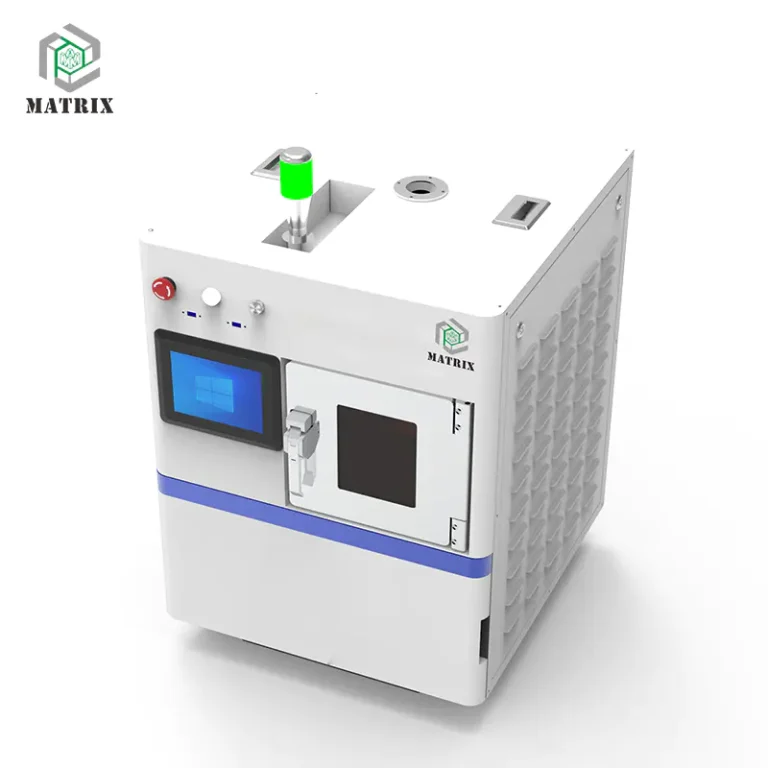
Equipment for 3D Print Sand Blaster

To effectively sand blast 3D prints, you’ll need some specialized equipment:
Blasting Cabinets and Enclosures
- Purpose: Contains the abrasive media and dust, providing a controlled environment. Essential for safety and cleanliness.
- Types: Benchtop cabinets for smaller parts, larger floor-standing units for bigger jobs.
- DIY vs. Professional: While DIY options exist (often found on sites like Instructables), a professionally designed cabinet offers better sealing, visibility, and dust extraction. Consider the long-term benefits of a dedicated unit if you plan on frequent use.
Air Compressors
- Purpose: Supplies the high-pressure air needed to propel the abrasive media.
- Considerations: Look for a compressor with a sufficient CFM (cubic feet per minute) rating for your blasting gun and a large enough tank to provide consistent pressure.
Blasting Gun and Nozzles
- Purpose: The tool that mixes the abrasive media with air and directs the stream.
- Nozzles: Come in various sizes and materials (e.g., ceramic, tungsten carbide). Nozzle size affects the spray pattern and air consumption. Ceramic nozzles are common for hobbyist use but wear out faster than carbide.
Dust Collection and Media Reclaim Systems
- Purpose: Essential for safety and cost-effectiveness. A dust collector removes airborne particles, while a reclaim system separates reusable media from waste.
- Benefit: Improves visibility inside the cabinet and reduces the amount of media you need to purchase.
Troubleshooting Common Sandblasting Issues
Even with the best preparation, you might encounter some issues when you sandblast 3D prints:
- Uneven Finish:
- Cause: Inconsistent nozzle distance or speed, dwelling too long in one spot, or incorrect pressure.
- Solution: Practice consistent, sweeping motions. Ensure even coverage. Check pressure settings.
- Damage to Fine Details:
- Cause: Pressure too high, abrasive media too coarse, nozzle too close.
- Solution: Reduce pressure, switch to finer media, and increase nozzle distance. Mask delicate areas.
- Warping of Thin Parts:
- Cause: Excessive heat buildup from prolonged blasting, pressure too high.
- Solution: Blast in short intervals to allow the part to cool. Reduce pressure. Support thin sections if possible.
- Media Impregnation (particles stuck in the print):
- Cause: Softer plastics, media too coarse, pressure too high.
- Solution: Use finer, less aggressive media. Lower pressure. Ensure thorough post-blasting cleaning.
- Dust Collector Inefficiency:
- Cause: Clogged filter, undersized collector.
- Solution: Clean or replace the filter regularly. Ensure your dust collector is adequately rated for your cabinet size and usage.
Sandblasting vs. Other Finishing Techniques for 3D Prints
How does sand blasting 3D prints stack up against other common finishing methods?
- Manual Sanding:
- Pros: Low cost, good control for specific areas.
- Cons: Time-consuming, difficult for complex geometries, can leave an uneven finish if not done carefully.
- Sandblasting Advantage: Much faster, more uniform finish, especially on intricate parts.
- Vapor Smoothing (e.g., Acetone for ABS, or specialized solvents):
- Pros: Can produce a very glossy, smooth surface, and seals the part.
- Cons: Only works with specific plastics, involves potentially hazardous chemicals, requires careful control, and can soften details.
- Sandblasting Advantage: Works on a wider range of materials, offers more control over the type of matte/textured finish.
- Tumbling/Vibratory Finishing:
- Pros: Good for batch processing, can achieve very smooth finishes with the right media over time.
- Cons: Can take many hours or even days, may not be suitable for very delicate or large parts, less control over specific areas.
- Sandblasting Advantage: Faster results, more direct control.
- Priming and Painting:
- Pros: Can fill small imperfections and provide a wide range of colors and finishes.
- Cons: Adds material, can be time-consuming with multiple coats and sanding between coats.
- Sandblasting Advantage: Often used before priming and painting to create an excellent surface for adhesion, reducing the amount of filler primer needed.
Ultimately, the best method depends on your material, desired finish, available equipment, and time. Sandblasting is a powerful and versatile option in your post-processing toolkit.
Conclusion
Learning how to sandblast your 3D prints effectively can significantly enhance their quality, providing a smooth, professional finish that’s hard to achieve with other methods alone. By understanding the process, selecting the appropriate materials and media, and always prioritizing safety, you can transform your FDM, SLA, or even metal sand blasted 3D print projects from visibly layered objects to finely finished parts.
Whether you’re aiming for a subtle matte look, preparing a surface for painting, or just want to get rid of those stubborn layer lines on your sand blast 3D printed parts, mastering the 3D print sand blast technique is a valuable skill. Experiment with different settings and media on scrap prints, and you’ll soon be achieving incredible results.
Ready to Get Your Perfect Prints?
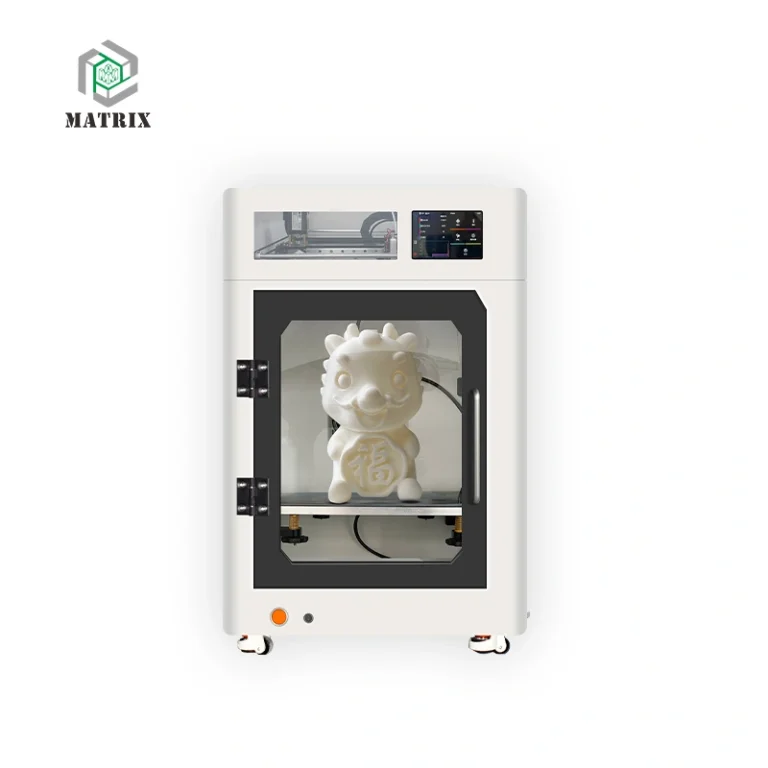
Want a perfect sand blasted 3D print without the DIY effort? Matrix Technology provides expert 3D printing services. We deliver that smooth, uniform surface your parts need.

With Matrix Technology, you get instant online quotes 24/7, fast turnarounds, and dedicated support. We make it easy to achieve a professional finish for any project.
Ready for superior results? Visit Matrix Technology now to bring your designs to life!
FAQs
A: Yes, you can sandblast resin 3D prints, and it’s often done to get a smooth, matte finish. However, always do it safely. This means wearing a good respirator mask, eye protection, and gloves. Resin dust can be harmful if you breathe it in or get it on your skin. Make sure the resin print is fully cured before sandblasting.
A: You actually can sand PLA, both by hand and with a sandblaster, but it needs a gentle touch. PLA is softer than some other plastics and can melt or get “gummy” if too much heat builds up from aggressive sanding or high-pressure sandblasting. For sandblasting PLA, use low air pressure and fine, soft abrasive particles (like glass beads). The key is to be gentle and check your work often.
A: For many, yes! If you want a very smooth, professional-looking finish on your 3d print sand blast projects, especially for parts with tricky shapes, sandblasting can save a lot of time and effort compared to hand sanding. It gives a consistent finish and can also help paint stick better. However, there’s a cost for the equipment and you need to follow safety rules.
A: This question usually applies to resin prints. You should always make sure your resin 3D prints are fully washed and completely cured before you try to sandblast them. Sandblasting an uncured or partially cured resin print can be messy, less effective, and expose you to uncured resin, which is not safe. For filament prints (like PLA or ABS), there isn’t a “curing” step in the same way, so you just work with the finished print after it cools.